Payee tags
Payee tags are a brilliant way of tracking payments to specific groups of payees, such as trustees or related parties. This article explains how to create, apply, utilise and manage payee tags within ExpensePlus.
In this article:
You can use payee tags as a filter within search purchases to help you complete your reporting for your year-end accounts. Find out more here about year-and accounts:
- Finding Answers to the Charity Commission Annual Return Submission Questions
- Year End Accounts (Accruals) - Other Notes
Setting up payee tags
To get started, you first need to create payee tags.
Go to Settings > Payees
Click 'Apply Tag'.

Within the Apply Payee Tags screen, follow the steps on screen to add the payee tags you wish to set up.
In this example, the following tags have been added:
- Trustee
- Related Party

Assigning payee tags to payees
Payee tags are assigned within the Apply Payee Tags screen within Payee Settings.
Select the payees you wish to tag with each tag. You can assign multiple tags to a payee.

Filtering by payee tags within expenditure reports
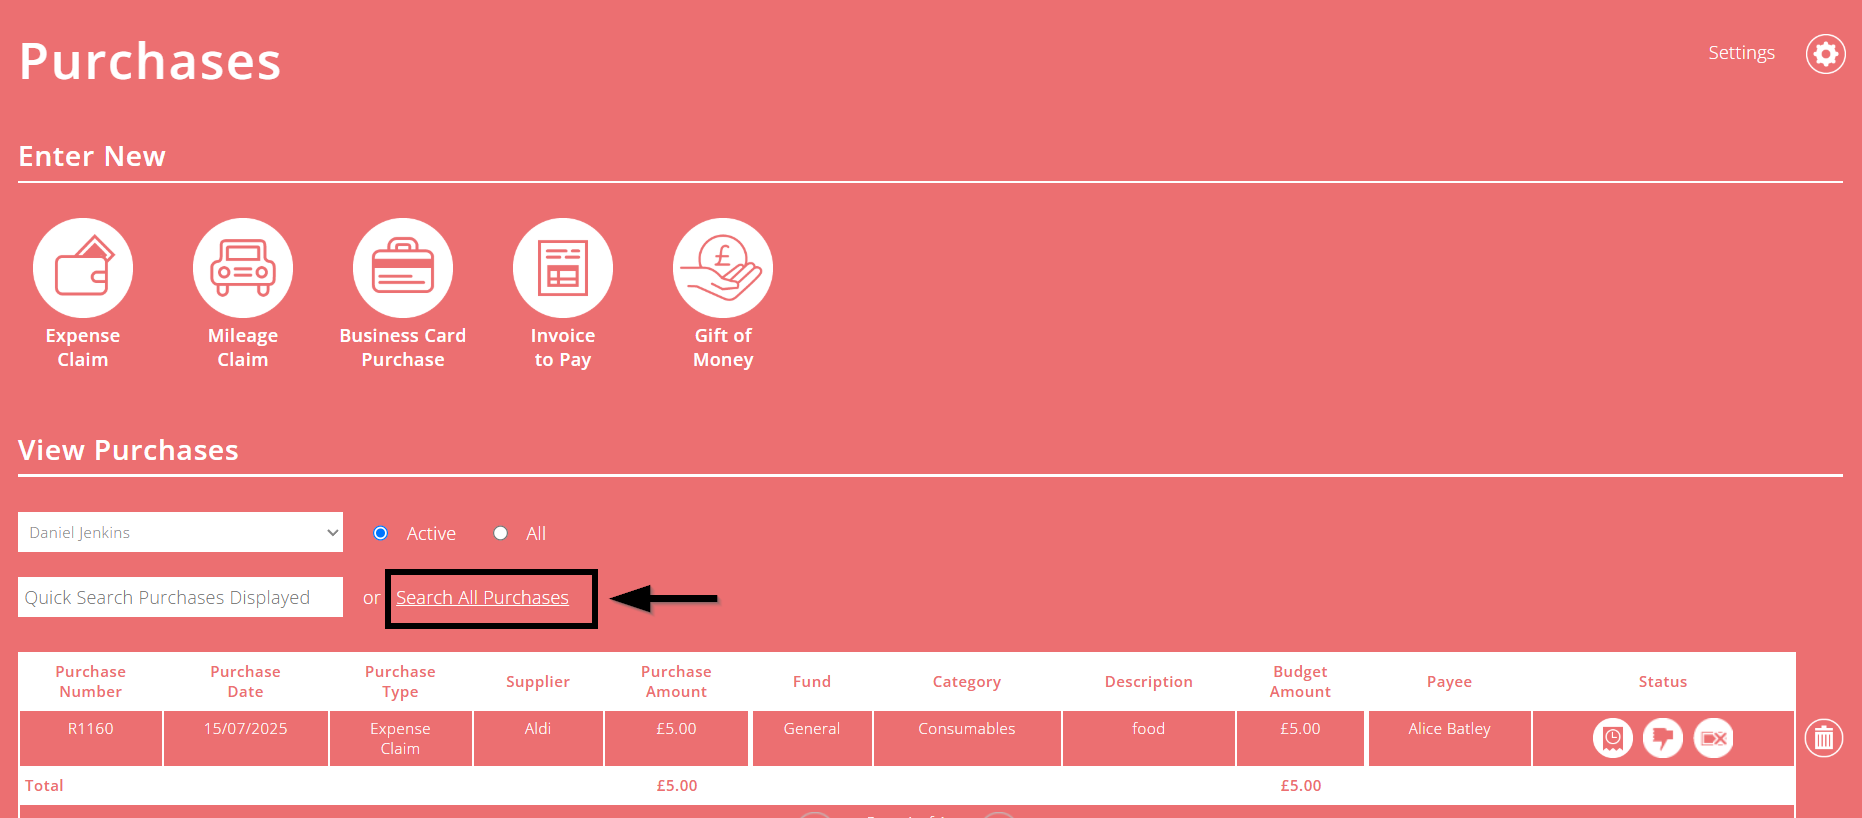
Setting up payee tags will enable you to filter particular groups of payees via the 'Search All Purchases' function in Expenditure Reports.


You can also get to the 'Search All Purchases' screen from the Purchases Screen.
Within the Search All Purchases screen, select the final tab called Purchase Amount.
You can then select the relevant payee tag from the 'Payee Tags' drop-down menu.
Then click 'Apply Filters'.

Deactivating and deleting payee tags
If you wish to deactivate or delete a payee tag, click the 'cog' icon at the top right of the Apply Payee Tags screen to get to the Manage Payee Tags screen.

- Click the 'deactivate' button (cross icon) to the right of a payee tag if you want to hide the payee tag. Deactivated payee tags can be viewed if you click the 'Manage Deactivated' button, and can be re-activated at a later date.
- Click the 'delete' button (bin icon) to the right of a payee tag if you want to permanently delete the payee tag. Deleted tags cannot be re-activated.

View Creating Year End Accounts (Accruals) in ExpensePlus to learn more about this.