Getting started with customer invoicing
This support article covers the key things you will need to know to get started as you create and send your first invoices.
In this article:
Invoicing screen
Within the main invoicing screen, you can toggle between viewing outstanding invoices, invoices by customer, or by date (select 'All').
Simply select the tab you wish to view.

Getting set up
1. Creating an invoice profile
Before you can create invoices, you will need to create an invoice profile. You can find out more about setting up and customising your invoice profile in invoice settings.
Your invoice profile includes things such as your organisation's name, logo, address and contact details, payment terms and payment details, etc.
To create an invoice profile, click on the 'Settings' button in the Invoicing screen.

It is not currently possible to customise the invoice font, or the default email text. However, you can add a note to the email text when emailing out invoices to customers - see Sending an invoice below.
2. Adding invoice items
Invoice Items are used when creating customer invoices. Invoice Items are goods or services you provide to customers, which you invoice for.
This may include things such as:
Building Hire:
- Main Hall (£50 per hour)
- Room 1 (£30 per hour)
- Room 2 (£25 per hour)
Weddings:
- Church Service (£500)
- Flowers (£150)
- Verger (£50)
Other Items:
- Printing (2.5p per sheet)
- Bouncy Castle (£50 per event)
Click here to find out more about creating invoice items.
3. Adding customers
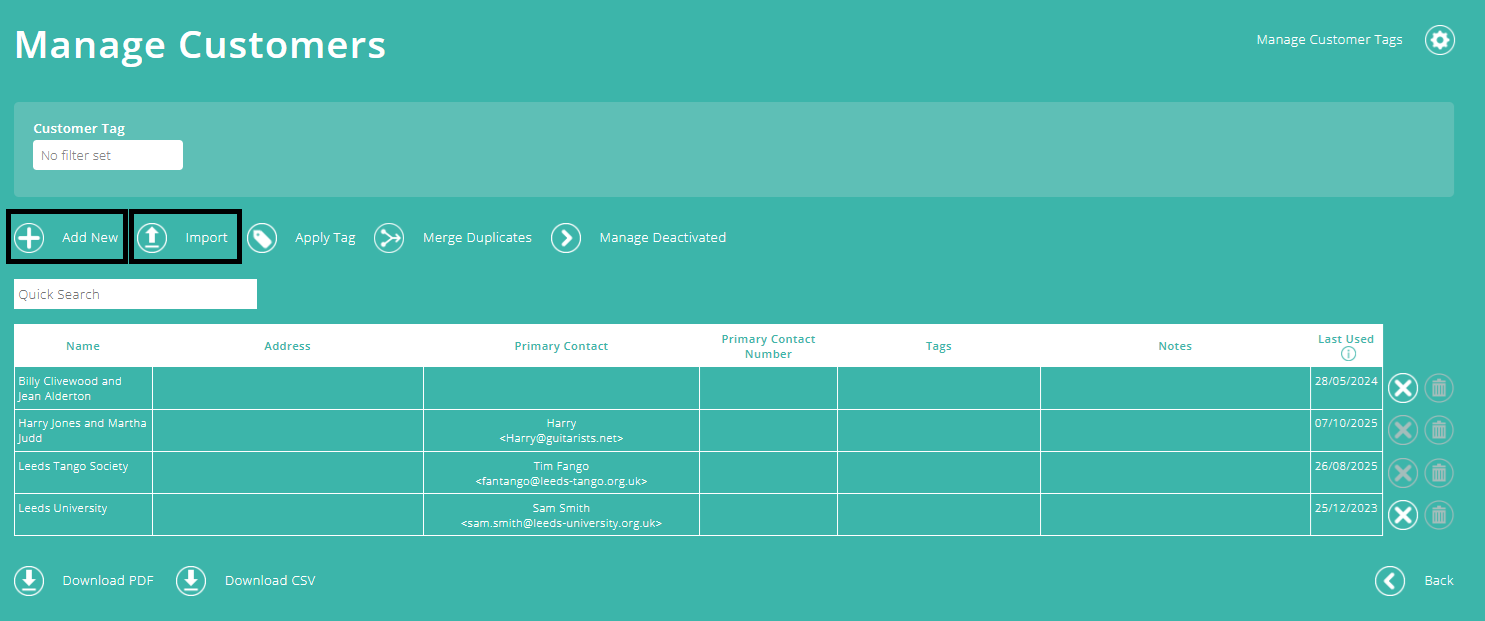
To add customers, click the 'Manage Customers' button at the top of the Invoicing screen.

You can either add individual customers, or import multiple customers.
Creating an invoice
To create your first invoice, from the Invoicing screen, select the 'Create invoice' button at the top of the screen.

There are several options for creating invoices:
- Create New - when you wish to create an invoice from scratch
- Create from Template - create invoices from an invoice template that you have set up
- Copy existing invoice - select any existing invoice, copy it, then edit any details you wish to update.
You can find out more about these options in our Help Guide article on creating invoices.
Sending an invoice
Once your invoice is complete, click 'Create' and then follow the instructions to preview it, download it, or send it out by email.
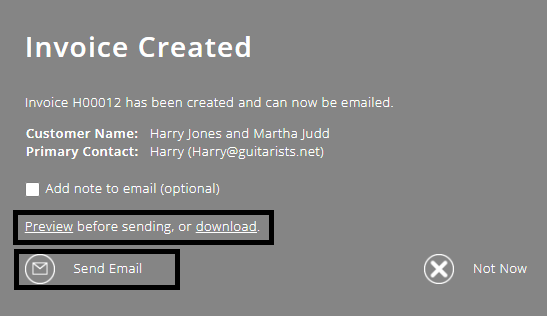
If you choose to send the invoice to the customer by email, ExpensePlus will send the email on your behalf. The text of the email will include your itemised invoice table, and your invoice PDF will be included as an email attachment.
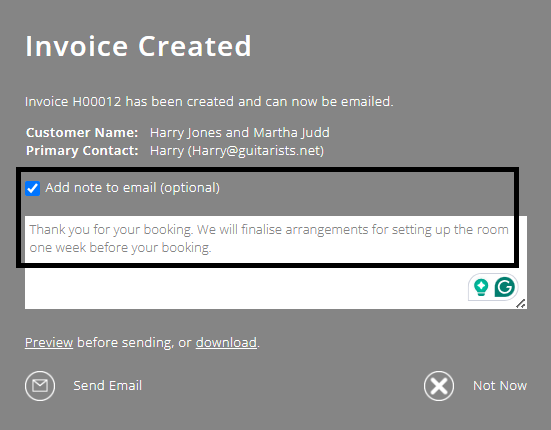
While you cannot customise the text of the covering email, you can add a note to the email that is sent.
If you don't want to send the invoice immediately by email, select 'Not Now'.
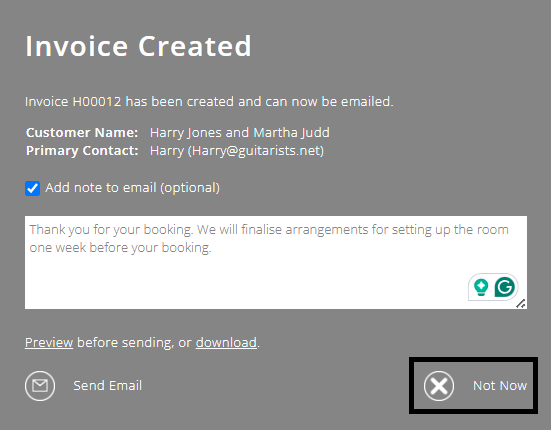
The invoice has still been created but hasn't been sent out. You can choose to send it at a later point, either through ExpensePlus or by downloading it to print or email separately.
What happens when an invoice is created
This depends on your accounting basis:
- If you create your accounts on a receipts and payments basis, then the income relating to the invoice won't appear within your financial reports until the customer pays the invoice, and the bank transaction has been reconciled.
- If you create your accounts on an accruals basis and you have auto-accruals enabled, an 'accounts receivable' transaction will automatically be created for the money you are owed, and your balance sheet total for accounts receivable will also update to show an increased outstanding total.

The invoice will appear on the right-hand table of the match transactions screen for the bank account that you selected as a payment account within the invoice template. (Find out more about invoice templates here). If you don't want outstanding invoices to appear on your bank matching screen, you can change this setting so they no longer appear.
Allocating income received to an invoice
Regardless of which accounting basis you use, when income relating to a customer invoice appears within your bank transactions (left-hand table of the bank matching screen), click the checkbox for that bank transaction, and ExpensePlus will automatically try to locate the corresponding invoice.
Where this is successful, both the bank transaction (left-hand table) and the invoice (right-hand table) will go green, and you can simply click the 'tick' button to confirm.

There may be scenarios where this doesn't happen - for example, a part payment is received, or the customer pays multiple invoices in one payment. Where this happens, you will still be able to reconcile the payment received:
- click directly on the transaction in the left-hand table
- in the pop-up that appears, under 'Transaction Type', select 'Invoice Payment' from the drop-down
- allocate the income as a full or part payment against one or more invoices.
By default, bank reconciliation is set to full allocation. So when you tick the relevant invoice line, ExpensePlus will allocate that line's value in full from your banked amount. If the payment is a part payment, click the 'Switch to Part Allocation' option at the bottom of the screen, and type in the figure of your choosing as free text. Please see our Help Guide article for more details about part payments.
When you have reconciled the transaction, the outstanding invoice balance displayed on the invoicing screen will automatically get updated.
If you create accounts on an accruals basis and you have auto-accruals enabled, an 'Accounts Receivable' reversal transaction is automatically created to account for the money that was originally accrued when the invoice was created, and is now no longer owed.

To help you better understand the invoicing module as a whole, please visit the module overview page here.